DIY: 4 Ways to Fix Your Boiler Before Calling an Engineer
It’s that time of year again when the weather starts to turn and we all start to huddle around our radiators for warmth. But what happens when your boiler starts acting up and you can’t seem to figure out why?
If you’re having problems with your boiler, don’t panic! The problem might not be as serious as you think, and you may be able to fix it yourself without calling out an engineer. All you need to do is follow these 04 simple DIY tips.
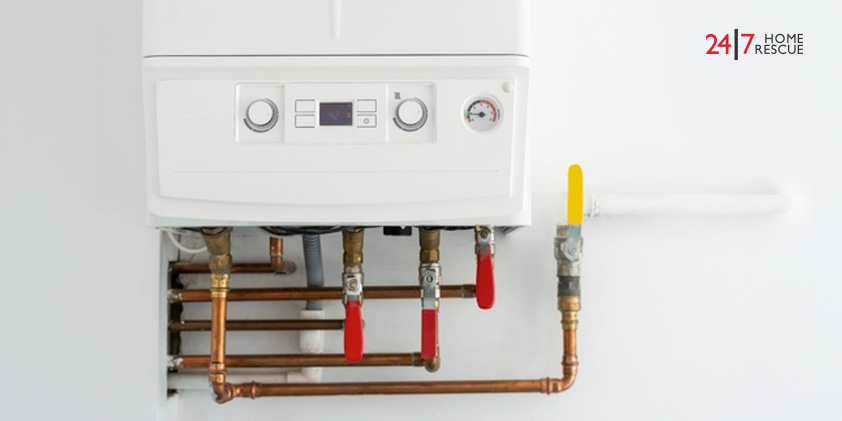
1. Re-pressurise Your Boiler

- There should be a water pressure indicator on the front of your boiler. If the indicator is below one, your boiler pressure is too low.
- Next, you need to find the boiler’s filling loop, which is probably at the bottom of the unit.
- Make sure the boiler is turned off and the ends of the hose are attached to the valves.
- Open the valves and you should be able to hear water filling up the system.
- Watch the pressure indicator until it reaches 1.5, then close the valves and switch the boiler back on.
- If your boiler pressure is too high, you can find more information here, or if your boiler pressure is too low, you can find more information here.
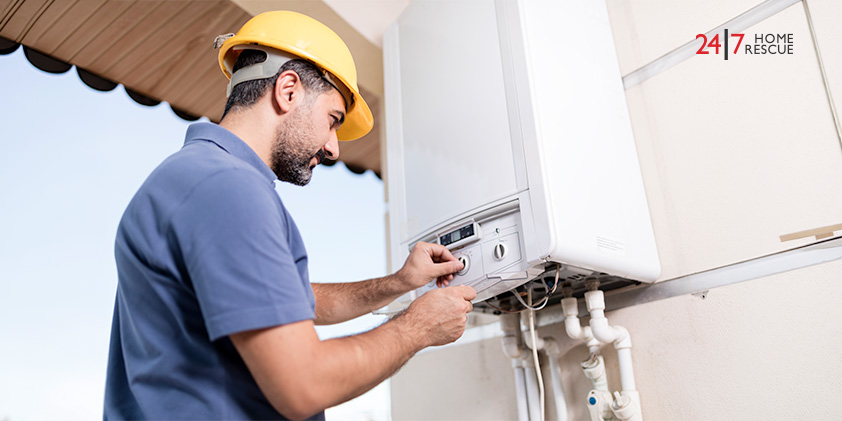
2. Reset Your Boiler

- Refer to the boiler’s manual to find the reset button and push it for 10 seconds.
- After a few minutes, the boiler should start working again.
- Attempt it a second time if the initial reset doesn’t work.
- You can find more information about how to reset a boiler here.

Boiler Insurance You Can Trust
Get boiler breakdown and landlord cover including free annual boiler service.
Choose your policy type
3. Bleed Your Radiators

- With the heating turned on, check the radiators to assess which ones aren’t warm.
- Once they’ve been identified, turn off the central heating. Once cool, use a radiator key and attach it to the valve.
- With a cloth, slowly turn the key anti-clockwise. If you can hear a hissing sound, it means that there is gas escaping.
- Once all the gas has escaped, the valve needs to be closed again.
- You can find more information about bleeding your radiators here.
4. Change Thermostat Batteries

- Remove the thermostat housing from the wall mount and turn it over to find the battery removal slots.
- Take out the old batteries and replace them with new ones.
- Most thermostats will require 2 X AA or 2 X AAA batteries.
- Fix the thermostat housing back onto the wall mount.
- It may take a few days for the low battery warning sign to disappear from the monitor.

Boiler Repair
Book your boiler repair service online and save time and effort. Our certified engineer will provide you with hassle-free assistance.
Conclusion
We hope that the above DIY tips have solved your problem. If you are still facing issues with your boiler, then don’t worry! Contact us via phone at 0345 3192 247 for a one-off boiler repair and our Gas-Safe Engineer will be on his way to get your boiler fixed.
Recent Posts

Popular Posts

24 Mar, 2015


13 Apr, 2015
Related Posts
How Long Does a Boiler Last?
07 Jul, 2026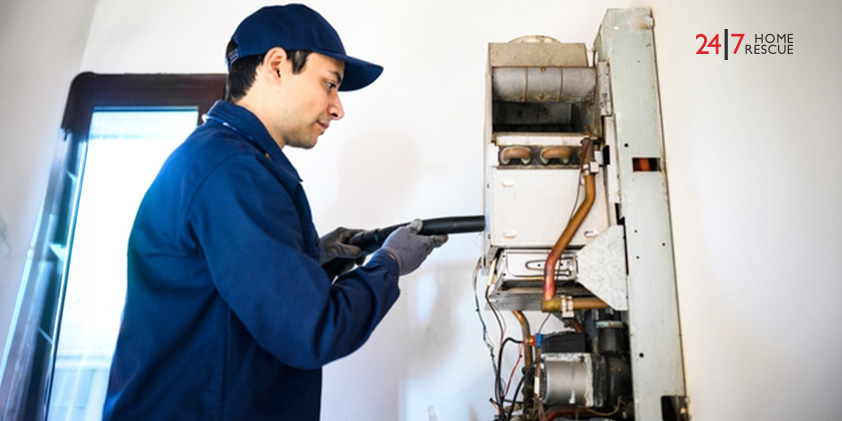
How Often Should a Boiler Be Serviced
01 Jun, 2026